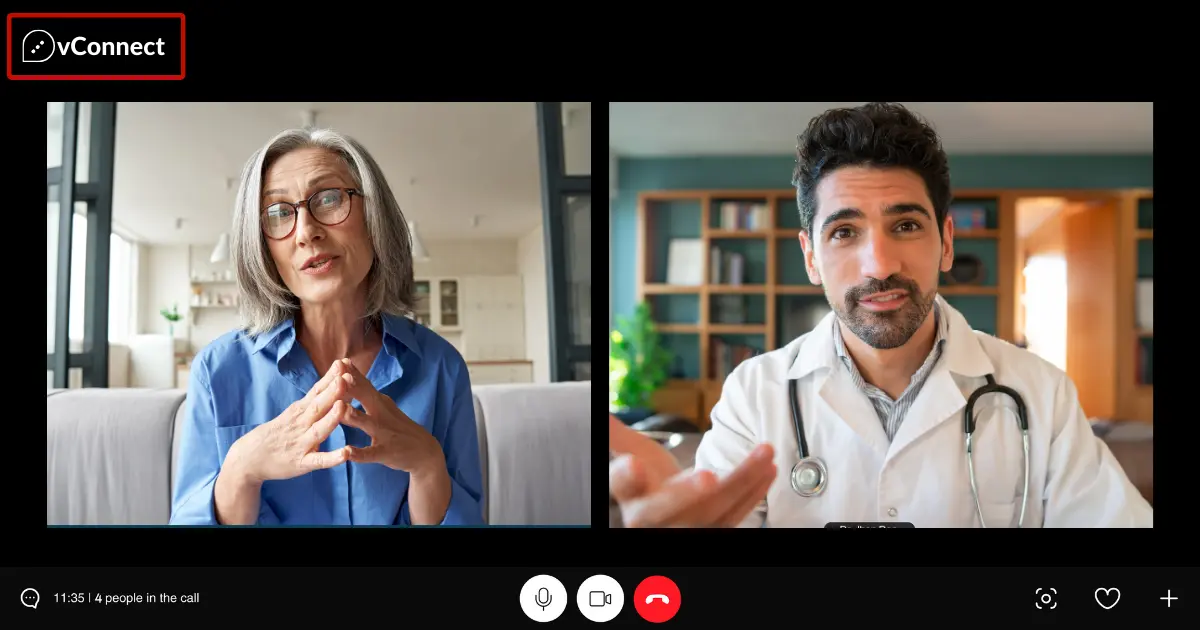
If you’re looking to customize your Jitsi Meet experience by replacing the default logo with your own, you’re in the right place! Follow these easy steps to change the logo in Jitsi Meet:
Step 1: Prepare Your Logo
Before you start, make sure you have your logo ready in the desired format. Your logo should ideally be in SVG (Scalable Vector Graphics) format for best results. Ensure that your logo is appropriately sized and fits well within the dimensions you want it to appear in Jitsi Meet.
Step 2: Access the Jitsi Meet Configuration
To change the logo in Jitsi Meet for Jitsi Rebranding and Jitsi Customization, you’ll need to access the configuration file. This file typically resides on the server where Jitsi Meet is installed. You can usually find it in the /etc/jitsi/meet/yourdomain-config.js directory.
Step 3: Edit the Configuration File
Open the configuration file using a text editor of your choice. Look for the section where the interface options are defined. You’ll typically find it near the top of the file.
Once you’ve located the interface options section, add or modify the following line:
interfaceConfigOverwrite: {
    APP_NAME: 'Your Custom App Name',
    DEFAULT_LOGO_URL: 'URL to your logo file',
},
Replace ‘Your Custom App Name’ with the desired name for your Jitsi Meet instance, and ‘URL to your logo file’ with the URL to your logo file. Make sure the URL is accessible from the internet.
Step 4: Save and Apply Changes
Save the configuration file after making the necessary changes. Then, restart your Jitsi Meet server to apply the new configuration. You can usually do this by running a command like sudo systemctl restart ‘jitsi-videobridge2.service’ or ‘sudo service jitsi-videobridge2’ restart, depending on your server setup.
Step 5: Verify the Changes
Once the server has restarted, open your Jitsi Meet instance in a web browser to verify that the logo has been successfully changed. You should see your custom logo displayed in place of the default Jitsi Meet logo.
Conclusion
Need assistance changing your Jitsi logo? Our step-by-step guide provides easy instructions for logo customization, ensuring your Jitsi Meet experience aligns with your brand. Get expert Jitsi support for hassle-free logo changes today!
FAQ
While you can technically use other image formats, SVG is recommended for best results as it allows for scalability without loss of quality.
Yes, you'll need to restart the Jitsi Meet server for the changes to take effect.
Absolutely! Simply remove or comment out the DEFAULT_LOGO_URL line from the configuration file and restart the server to revert to the default Jitsi Meet logo.


