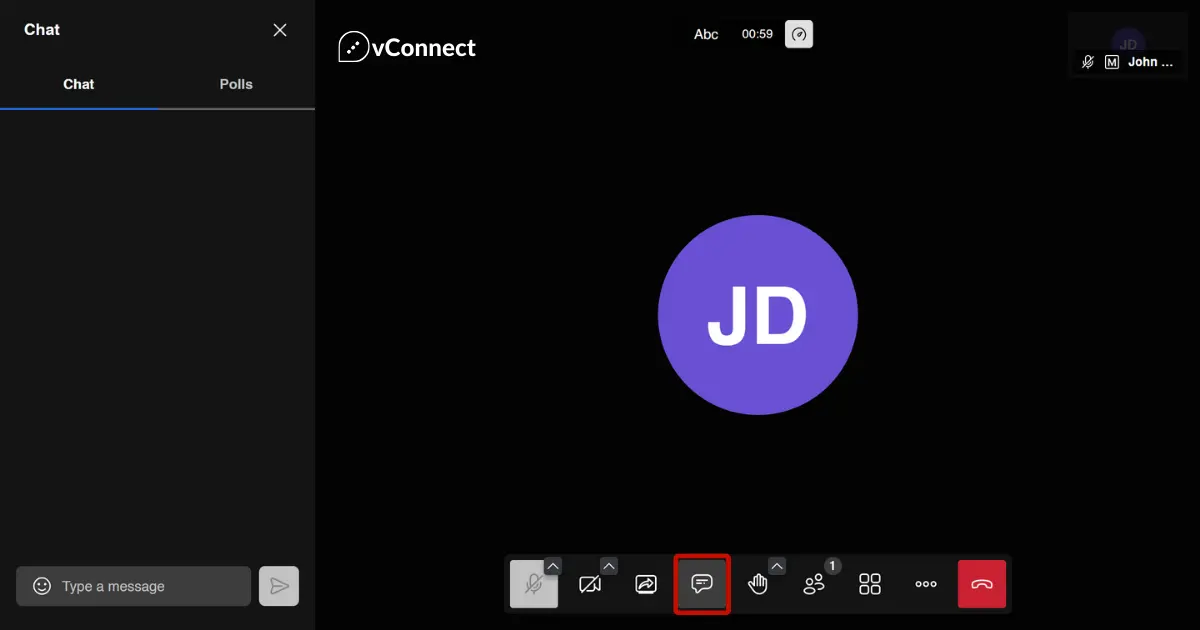
Integrating a chat feature into your Jitsi Meet application can significantly enhance the user experience by allowing participants to communicate in real-time during video conferences. This guide will walk you through the steps to implement this functionality using the Jitsi Meet API.
Step 1: Understand the Jitsi Meet API
Before diving into the code, familiarize yourself with the Jitsi Meet API documentation. It provides valuable insights into the methods available for chat integration.
Step 2: Set Up Your Development Environment
Ensure you have a working development environment with Jitsi Meet installed. You’ll also need a basic understanding of JavaScript and the React framework.
Step 3: Initialize the Jitsi Meet API
Initialize the Jitsi Meet API in your application by providing the necessary configuration options, including your API key. This step ensures that your application can communicate with the Jitsi Meet servers and access its functionalities.
const domain = 'meet.jit.si';
const options = {
    roomName: 'YourRoomName',
    width: 800,
    height: 600,
    parentNode: document.querySelector('#meet'),
    interfaceConfigOverwrite: {
        TOOLBAR_BUTTONS: [
            'microphone', 'camera', 'closedcaptions', 'desktop', 'fullscreen',
            'fodeviceselection', 'hangup', 'profile', 'chat', 'recording',
            'livestreaming', 'etherpad', 'sharedvideo', 'settings', 'raisehand',
            'videoquality', 'filmstrip', 'invite', 'feedback', 'stats', 'shortcuts',
            'tileview', 'videobackgroundblur', 'download', 'help', 'mute-everyone',
            'e2ee'
        ],
    },
};
const api = new JitsiMeetExternalAPI(domain, options);
Step 4: Implement the Chat Feature
Use the api.executeCommand method to send and receive messages.
// To send a message
api.executeCommand('sendChatMessage', {text: 'Your message here.'});

// To receive messages
api.on('incomingMessage', (event) => {
    console.log(`Message received from ${event.from}: ${event.message}`);
});
Step 5: Customize the Chat Interface
Jitsi customize the chat interface to match your application’s look and feel. You can modify the CSS or use the Jitsi Meet API’s UI events to create a seamless user experience.
Step 6: Test Your Implementation
Before deploying your application, thoroughly test the implemented chat feature to ensure it works as expected. Test various scenarios, including sending messages, receiving messages, and handling edge cases to guarantee a seamless user experience.
Step 7: Deploy Your Application
Once you’re satisfied with the implementation and testing of the chat feature, deploy your application to make it accessible to users. Monitor its performance and gather feedback to continuously improve the chat feature and overall application experience.
Conclusion
By following these steps and addressing common queries, you can successfully implement a chat feature into your Jitsi Meet application, enriching the user experience and fostering collaboration among participants. If you encounter any issues during the implementation process, don’t hesitate to reach out to Jitsi support for assistance. They can provide guidance and solutions to ensure a smooth integration of the chat feature into your application.
FAQ
No, the Jitsi Meet API is open-source and can be used without special permissions.
Yes, you have full control over the design and styling of the chat UI within your application.
Yes, Jitsi Meet provides encryption for communication, ensuring that your messages are secure and private.
Yes, you have the option to host your own Jitsi Meet server, providing you with better control over your application's infrastructure and data privacy.
While the API offers core messaging functionalities, features like message editing or file sharing might require additional development efforts.


